Payments
By default, we use Stripe for payments.
Read more about Stripe here: Documentation
Get started
Step 1: Setting up an account
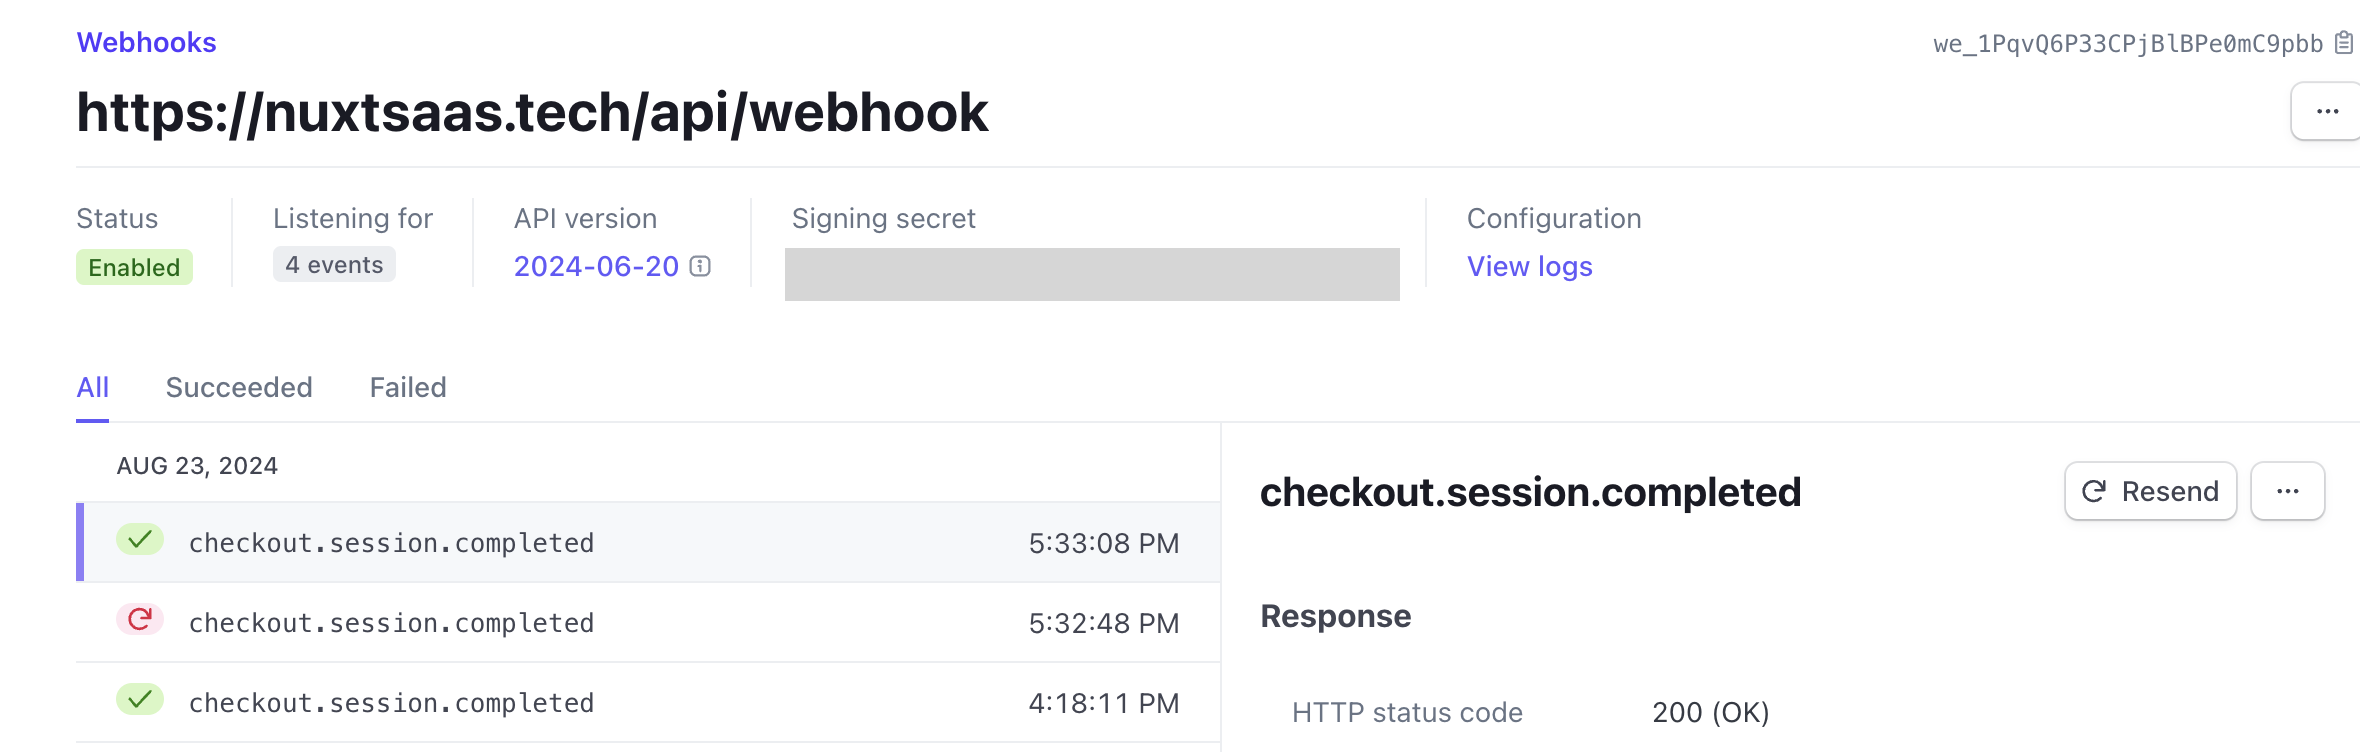
Go to Stripe and get started by signing in or creating a new account & verifying it. After that, go to your dashboard & create a new product there. Integrate also the webhook using our guide. Fill in STRIPE_API_PUBLIC_KEY, STRIPE_API_SECRET_KEY, STRIPE_WEBHOOK_SECRET and STRIPE_HOST variables. in .env file to integrate Stripe with your project.
Step 2: Create products
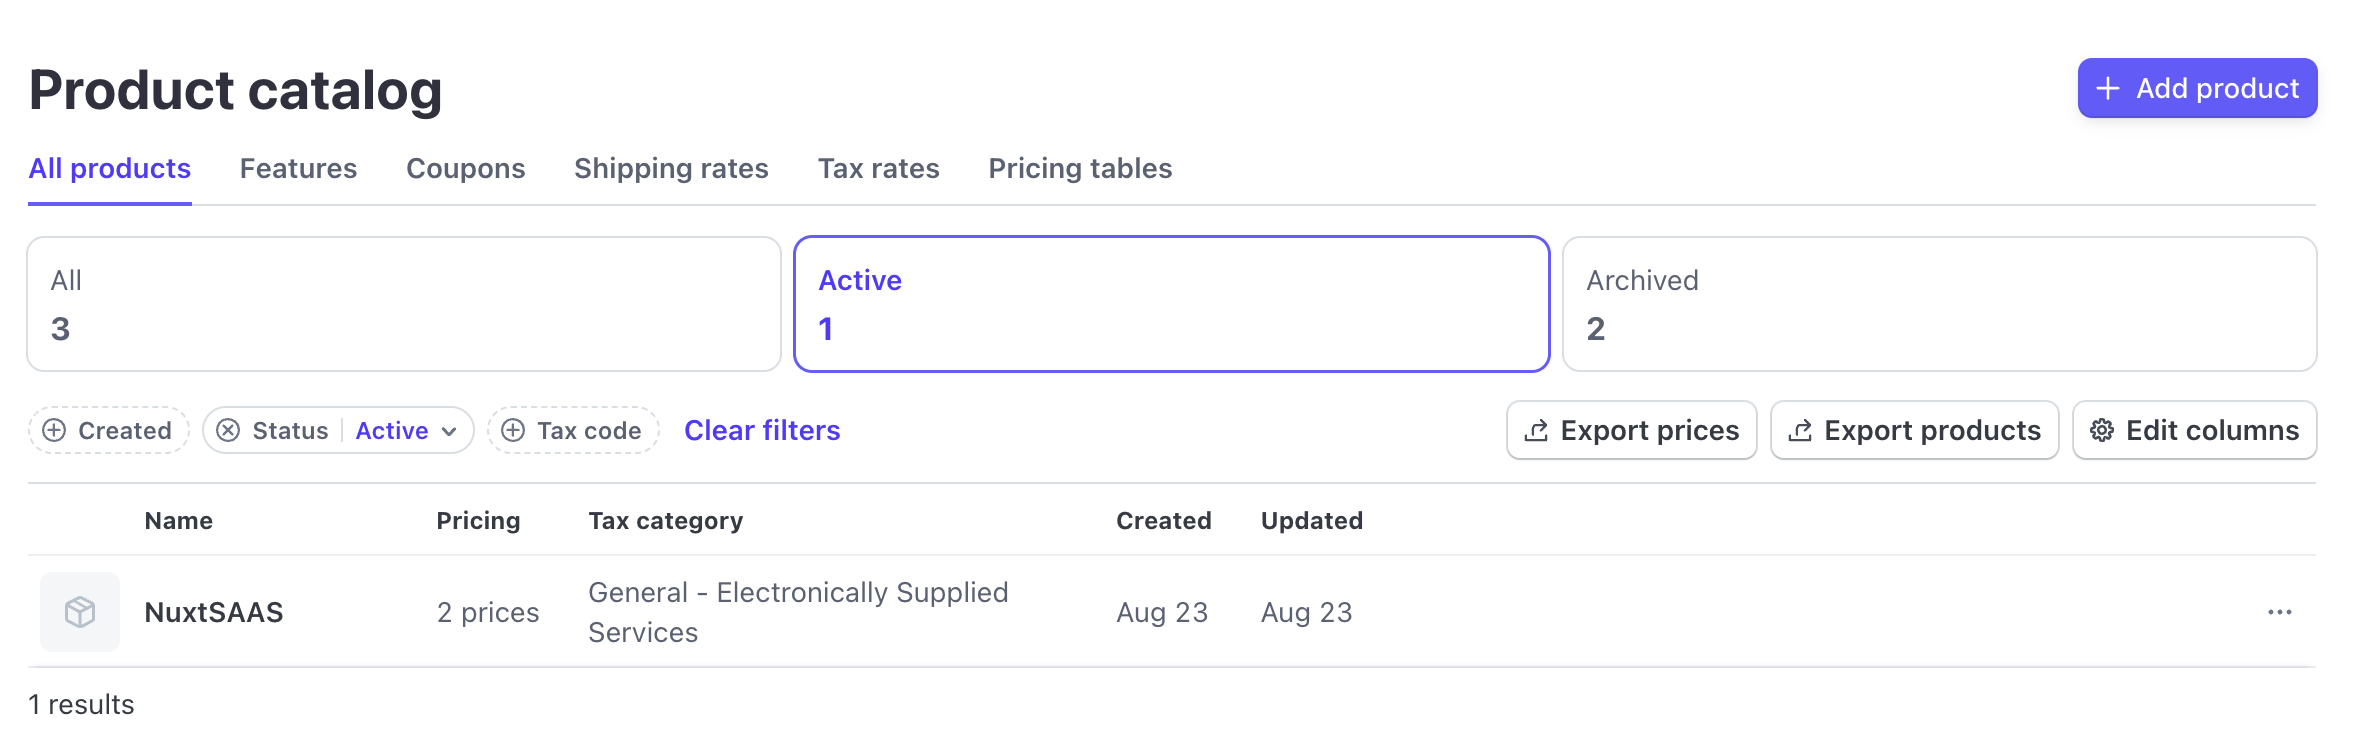
To accept payments on your website - create your very first product under the Products -> Add Product. Enter required data, such as name, description, pricing type & others.
Step 3: Create payment link & integrate products
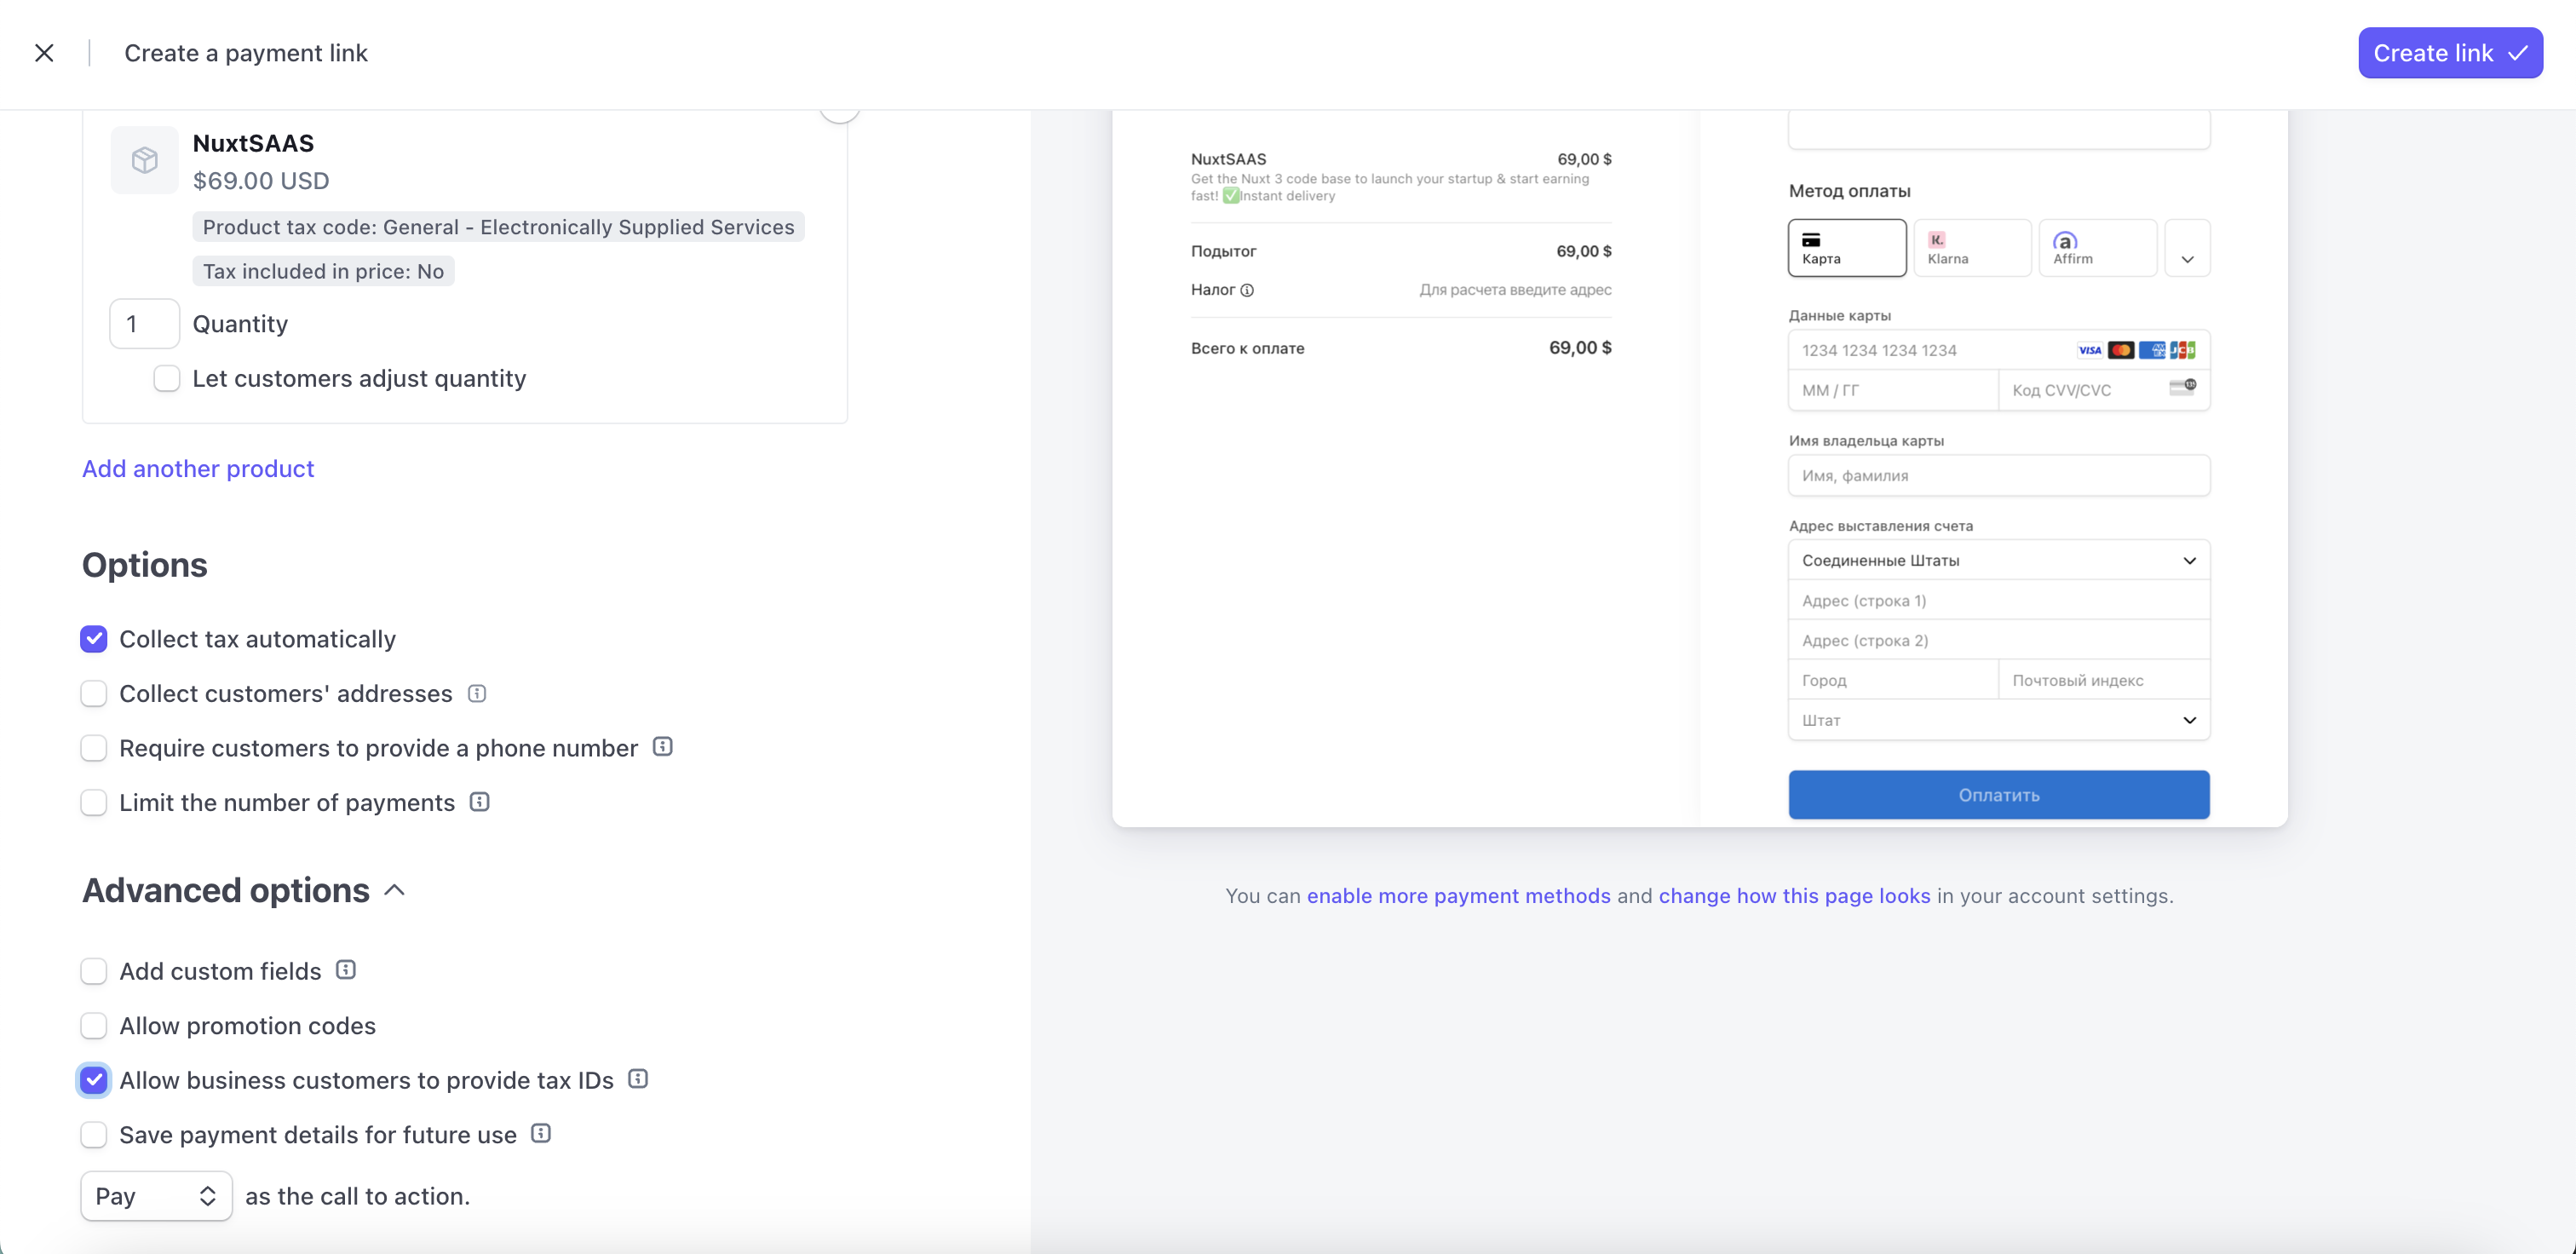
After you've created your product, create a new Payment Link for it and when setting up your LandingPricings component - add this link under the paymentLink key.
Make sure to enable "Allow business customers to provide tax IDs"
const pricingPlans: PricingPlanProps[] = [{
    heading: 'Starter',
    subheading: 'Best option for personal use & for your next project.',
    pricing: '$29',
    period: 'year',
    features: ['Individual configuration', 'No setup, or hidden fees', 'Team size: 1 developer', 'Premium support: 6 months', 'Free updates: 6 months'],
    action: {
        title: 'Get started',
    },
    // **paste your payment link here
    paymentLink: 'https://stripe.com/',
}]
Step 4: Add webhooks
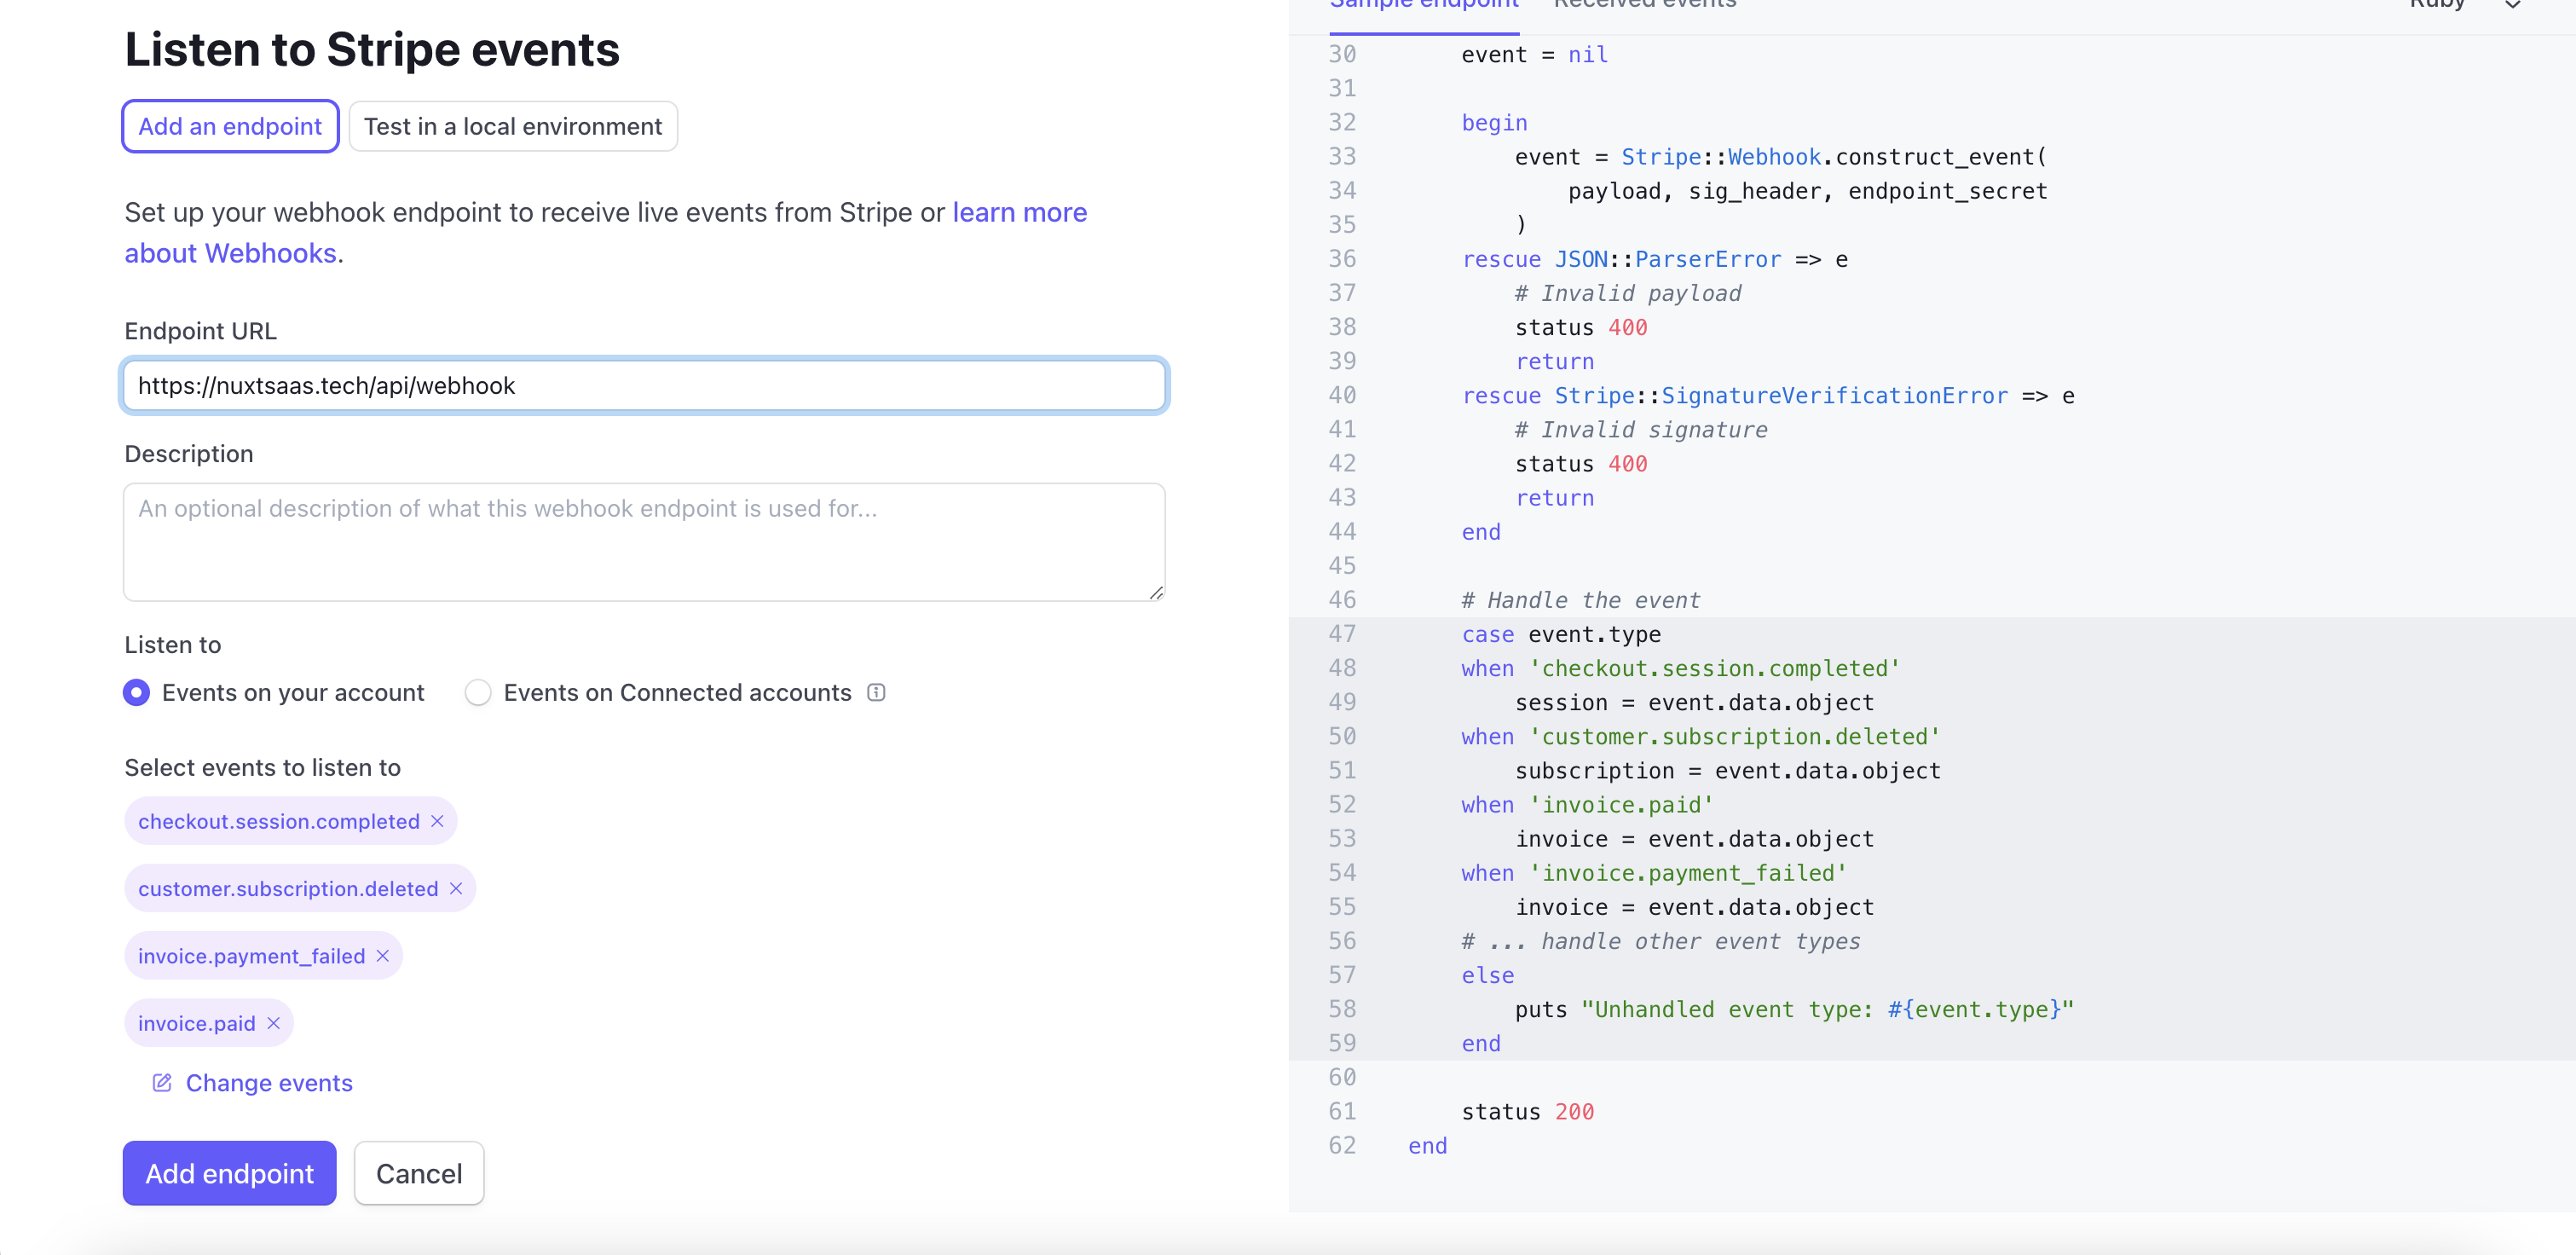
In your store dashboard, go to Webhooks. From there create a new webhook, setting Endpoint URL as %YOUR_HOST%/api/webhook.
Create a signing secret and put it in .env file under the STRIPE_WEBHOOK_SECRET key.
Mark 3 events as checked: checkout.session.completed, customer.subscription.deleted, invoice.paid, invoice.payment_failed.